Get Started
Deploy Svelte with LaunchFlow
Deploy a Svelte application to AWS Fargate with LaunchFlow.
View the source code for this guide in our examples repo.
0. Set up your Svelte Project
If you already have a Svelte Project you can skip to step #1.
Create a new Svelte Application
1npm create svelte@latest launchflow-svelte
2cd launchflow-svelte
3npm install
4npm install --save-dev @sveltejs/adapter-node
Select Skeleton project for a basic setup, and any other options that best suit your project needs.
Create a new file src/routes/+page.server.ts with the following contents:
1import { env } from "$env/dynamic/private";
2
3export async function load() {
4 const lfEnv = env.LAUNCHFLOW_ENVIRONMENT;
5 return { props: { env: lfEnv } };
6}
Update src/routes/+page.svelte to return a simple message:
1<script>
2 export let data;
3</script>
4
5<h1>Hello from {data.props.env}</h1>
Update svelte.config.js to enable adapter-node:
1import adapter from '@sveltejs/adapter-node';
2import { vitePreprocess } from '@sveltejs/vite-plugin-svelte';
3
4/** @type {import('@sveltejs/kit').Config} */
5const config = {
6 preprocess: vitePreprocess(),
7
8 kit: {
9 adapter: adapter()
10 }
11};
12
13export default config;
Create a Dockerfile in the root of your project:
1FROM public.ecr.aws/docker/library/node:18-alpine AS base
2
3WORKDIR /app
4
5COPY package.json package-lock.json ./
6RUN npm ci
7
8COPY . .
9RUN npm run build
10
11ENV NODE_ENV=production
12
13RUN npm prune --production
14
15FROM public.ecr.aws/docker/library/node:18-alpine
16
17WORKDIR /app
18
19COPY /app/build build/
20COPY /app/node_modules node_modules/
21COPY package.json .
22
23ENV PORT=80
24EXPOSE $PORT
25CMD ["node", "build"]
1. Initialize Launch Flow
If you're coming from a platform like Vercel you will need to:
- Add a Dockerfile to your project as shown above.
- Make sure your Svelte project is using the node adapter. You can do this by installing
@sveltejs/adapter-nodeand updating yoursvelte.config.jsas shown above.
Install the LaunchFlow Python SDK and CLI using pip.
1pip install launchflow[aws]
Initialize LaunchFlow in your project
1lf init --backend=local
- Name your project
- Select
Yesfor creating an exampleinfra.py - Select
AWSfor your cloud provider - Select
ECS Fargatefor your service
Once finished you will get an infra.py that looks like:
1import launchflow as lf
2
3# ECSFargateService Docs: https://docs.launchflow.com/reference/aws-services/ecs-fargate
4api = lf.aws.ECSFargateService(
5 "my-ecs-api",
6 dockerfile="Dockerfile", # Path to your Dockerfile
7)
ECSFargateService will build your Dockerfile and deploy to ECS Fargate. You can provide additional fields to ECSFargateService to configure things like machine type, num instances, or even a custom domain.
2. Deploy your Service
Make sure you have local AWS credentials set up before deploying.
1lf deploy
- Name your environment (
devis a good first name) - Select your cloud provider
AWS - Confirm the resources to be created
- Select the service to deploy
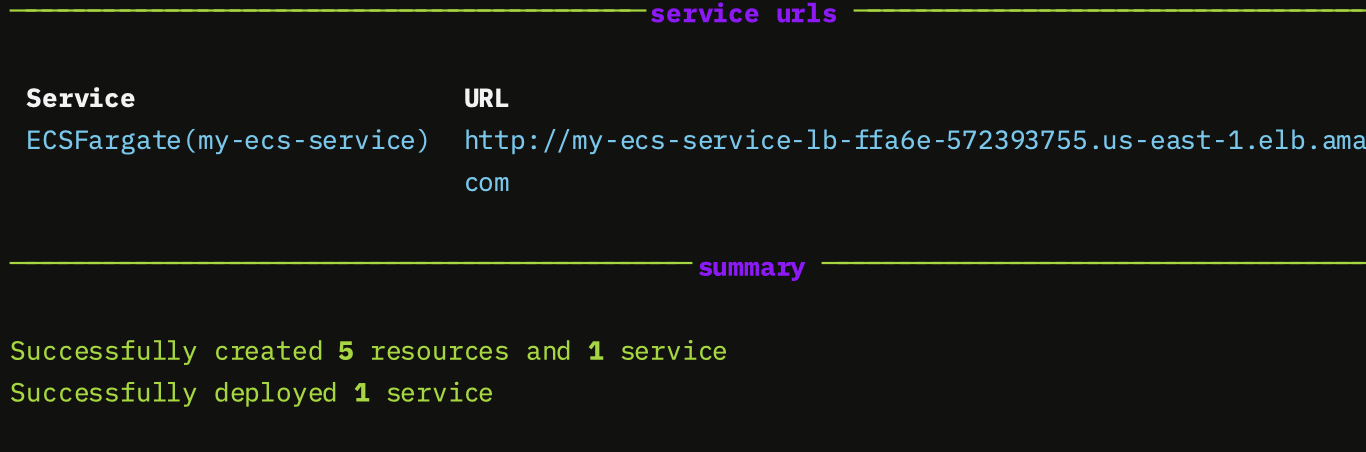
Once complete you will see a link to your deployed service on ECS Fargate.
3. Cleanup your Resources
Optionally you can delete all your resources, service, and environments with:
1lf destroy
2lf environments delete
4. Visualize, Share, and Automate
LaunchFlow Cloud usage is optional and free for individuals.
Using the local backend like we did above works fine for starting a project, but doesn't offer a way to share state between multiple users. LaunchFlow Cloud is a web-based service for managing, sharing, and automating your infrastructure. It's free small teams and provides a simple, secure way to collaborate with your team and automate your release pipelines.
Sign up for LaunchFlow Cloud and connect your local environment by running:
1lf init --backend=lf
This will create a project in your LaunchFlow Cloud account and migrate your local state to the LaunchFlow Cloud backend.
What's next?
- Add resources to your application
- Promote your application to a production enviroment
- Learn more about Environments, Services, and Resources
- Join theLaunchFlow Slack community
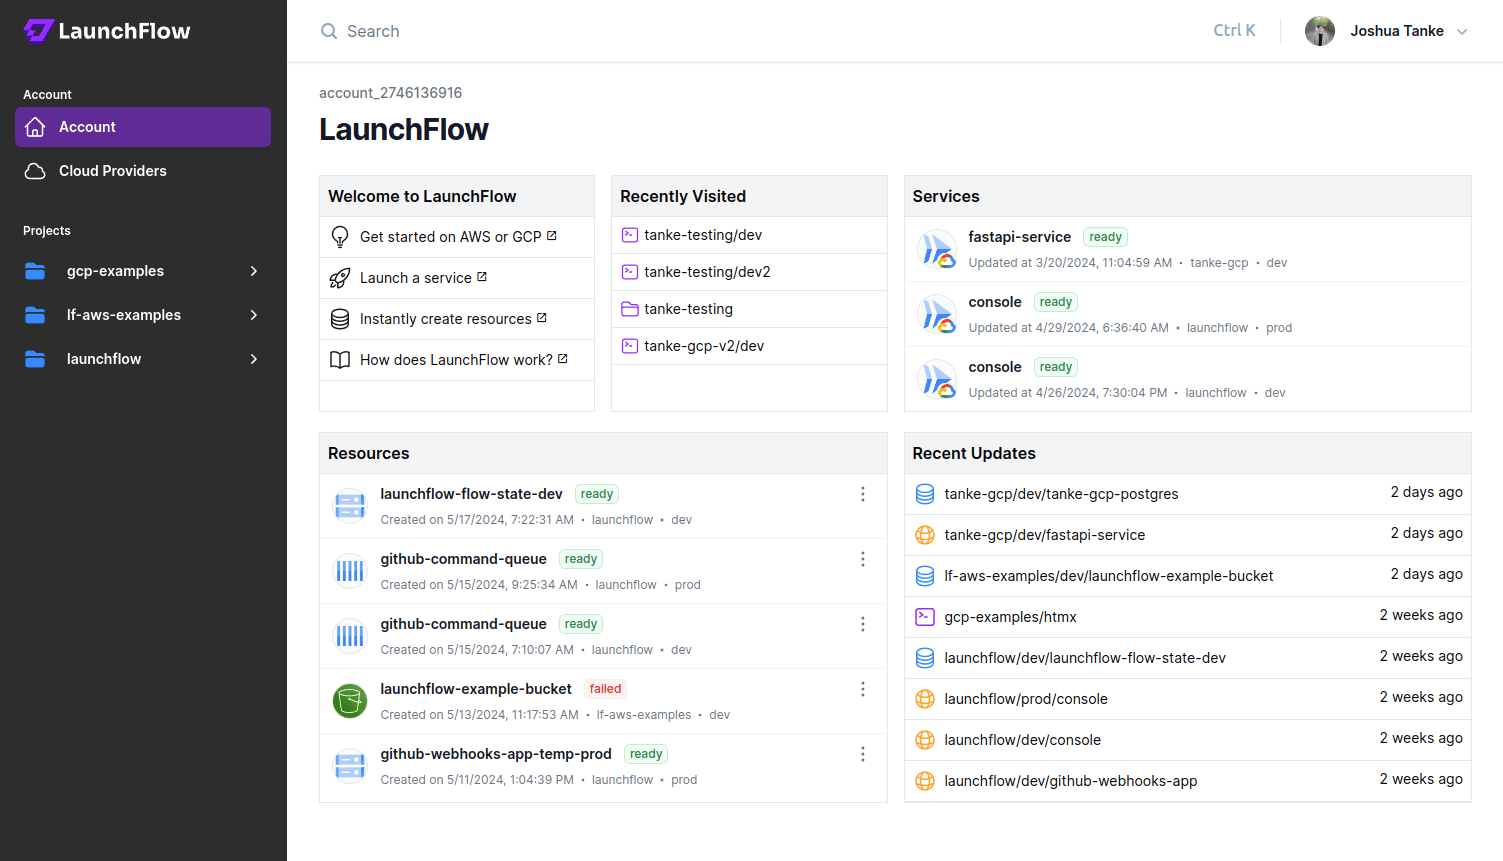
- View your application in theLaunchFlow console